print individual photos
If you don’t know the photo number for individual photos, you may want to print
a proof sheet to help you select individual photos to print.
1
Do one of the following:
– If your card is already in the slot, press Menu, press 0, then press 4.
This selects Photo Card Functions, then selects Print Photos.
– If your card is not in the slot, insert the photo card, and press 2 when
Save Photos to PC? appears.
2
When Print What? appears, press
until Photos on Card appears, then
press Enter.
3
Press
to select Custom, then press Enter.
4
Use the keypad to enter the photo numbers for the photos you want to
print.
5
Press
or
Enter to enter the next photo number.
A comma is inserted automatically as the cursor advances to the right.
Tip: You can specify a range using a dash, which you enter by
pressing the Symbols button (*) on the keypad.
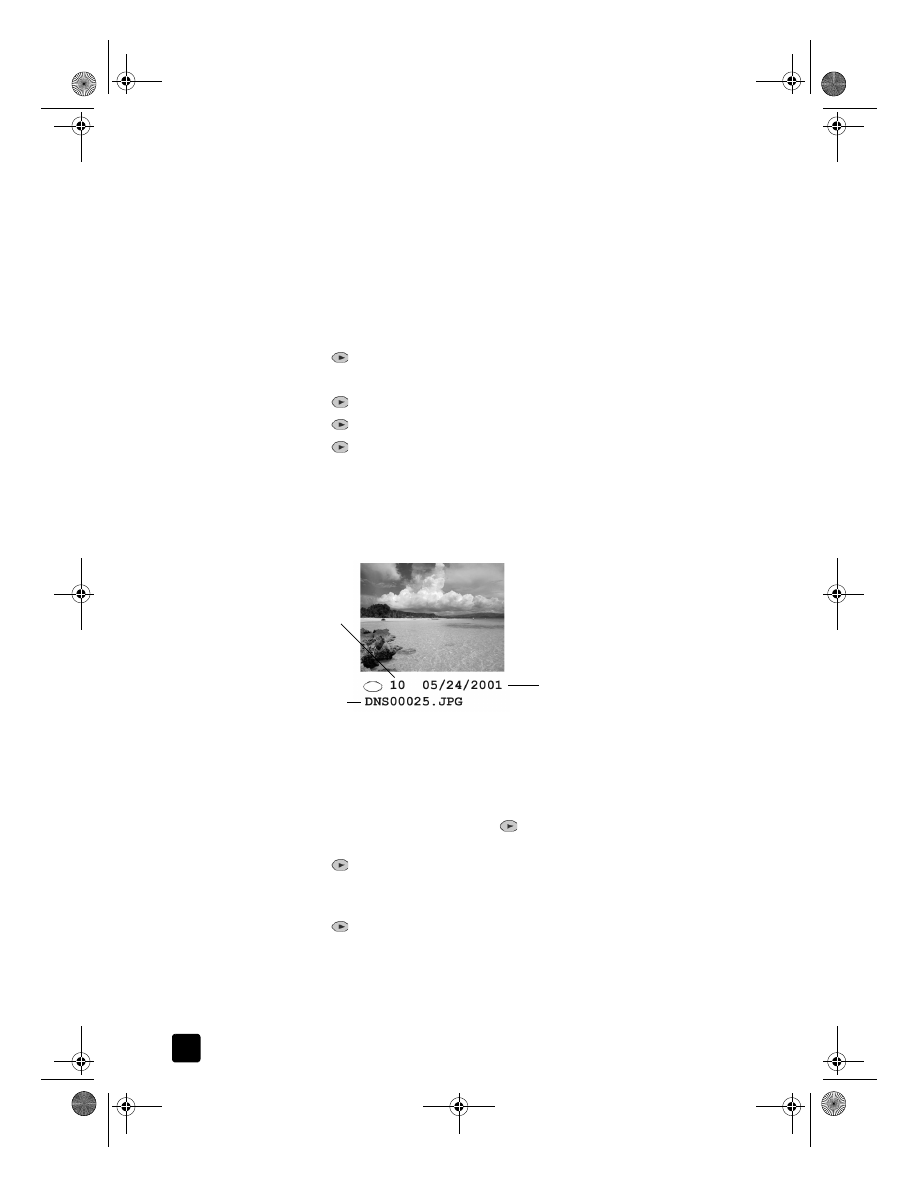
Photo number
File name
Date
GroPlusRG.book Page 40 Wednesday, October 16, 2002 1:16 PM
reference guide
use a photo card
41
Note: You can erase entries by pressing
. As the bottom line is filled,
the data entry field scrolls left to show the number as it is entered.
6
Press Enter when you have typed all the photo numbers for the photos you
want to print.
7
Press
to select a photo size, then press Enter.
8
Press
to select a paper type, then press Enter.
9
Press
to select the number of copies, then press Enter.
The selected photos are printed.