front panel features
The front panel is divided into the following main regions:
•
Fax area
•
Keypad
•
Shared buttons and front-panel display
•
Copy area
•
Scan area
•
On button
GroPlusRG.book Page 3 Wednesday, October 16, 2002 1:16 PM

hp officejet 7100 series
chapter 2
4
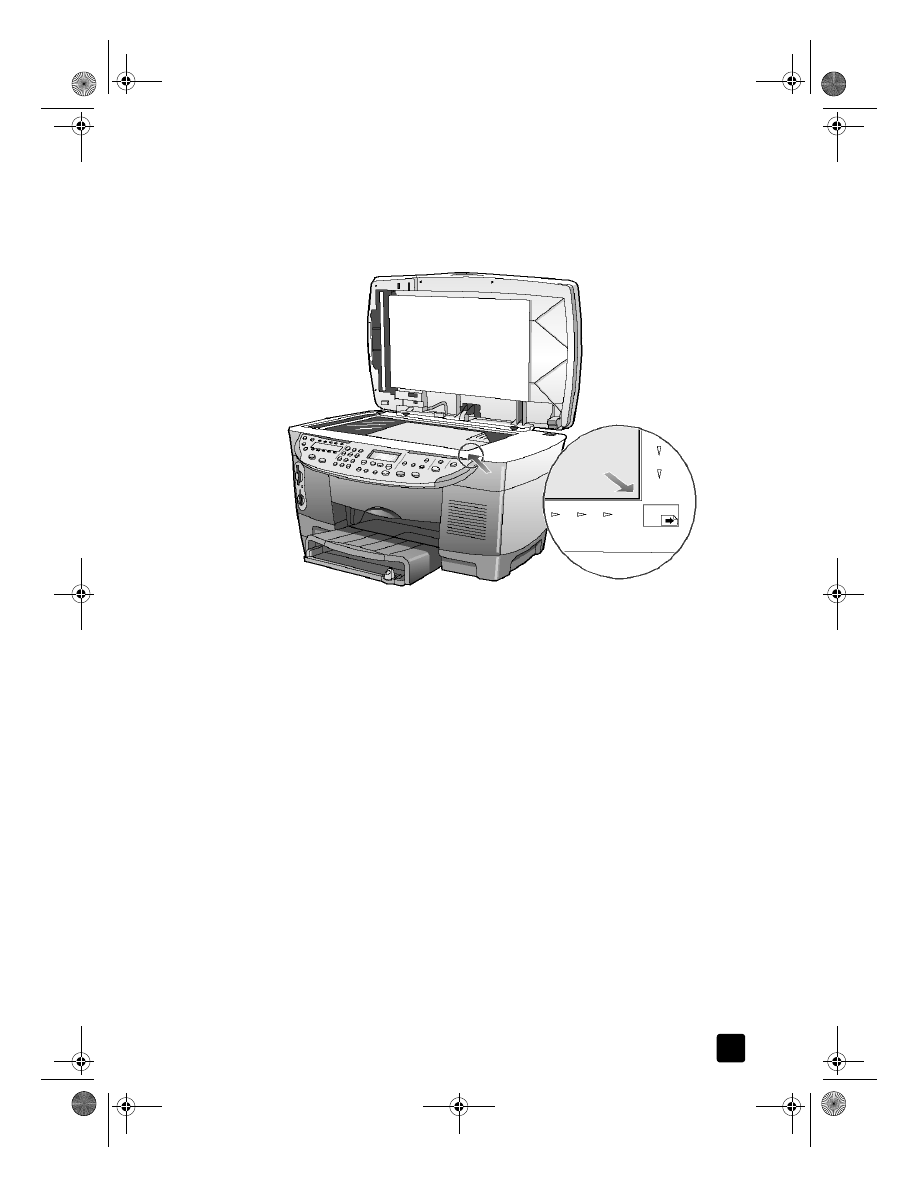
Review the illustrations below and identify the location of the buttons on the front
panel. You will not use all of the front-panel features in the tutorial, but you may
find it helpful to note the locations of all the buttons.
Left side of the front panel showing the Fax area and the keypad
Access one-touch speed-dial buttons.
Turn Auto Answer on/off.
Use keypad to dial fax
numbers or enter text.
Start fax.
Redials the most recently
dialed number.
Change the fax resolution.
Scroll through speed-dial entries.
Right side of the front panel showing the shared buttons and front-panel display, the Copy area, and
the Scan area
Access special copy features,
such as Fit to Page, Mirror,
MarginShift, or Poster.
Select a specific
software program
to scan to, or a
computer, if on a
network
Start a scan.
Turn the
HP Officejet on
or off.
Start a copy.
Choose the number of copies.
Scroll through settings
options.
Reduce or enlarge a copy.
Set the copy quality.
Stop a job or exit a menu.
Make two-sided copies.
Access photo card,
copy, fax, scan, and
network settings
options.
Choose the paper type and
paper tray.
Make brightness and contrast adjustments when faxing and copying.
Select a currently displayed menu
item or value.
Front-panel display.
GroPlusRG.book Page 4 Wednesday, October 16, 2002 1:16 PM
reference guide
quick start
5