
verify a printhead needs to be replaced
If a printhead error message appears on the front-panel display, verify that the
printhead needs to be replaced.
1
Turn the unit off and then turn it on.
If the error message still appears, continue with the following steps.
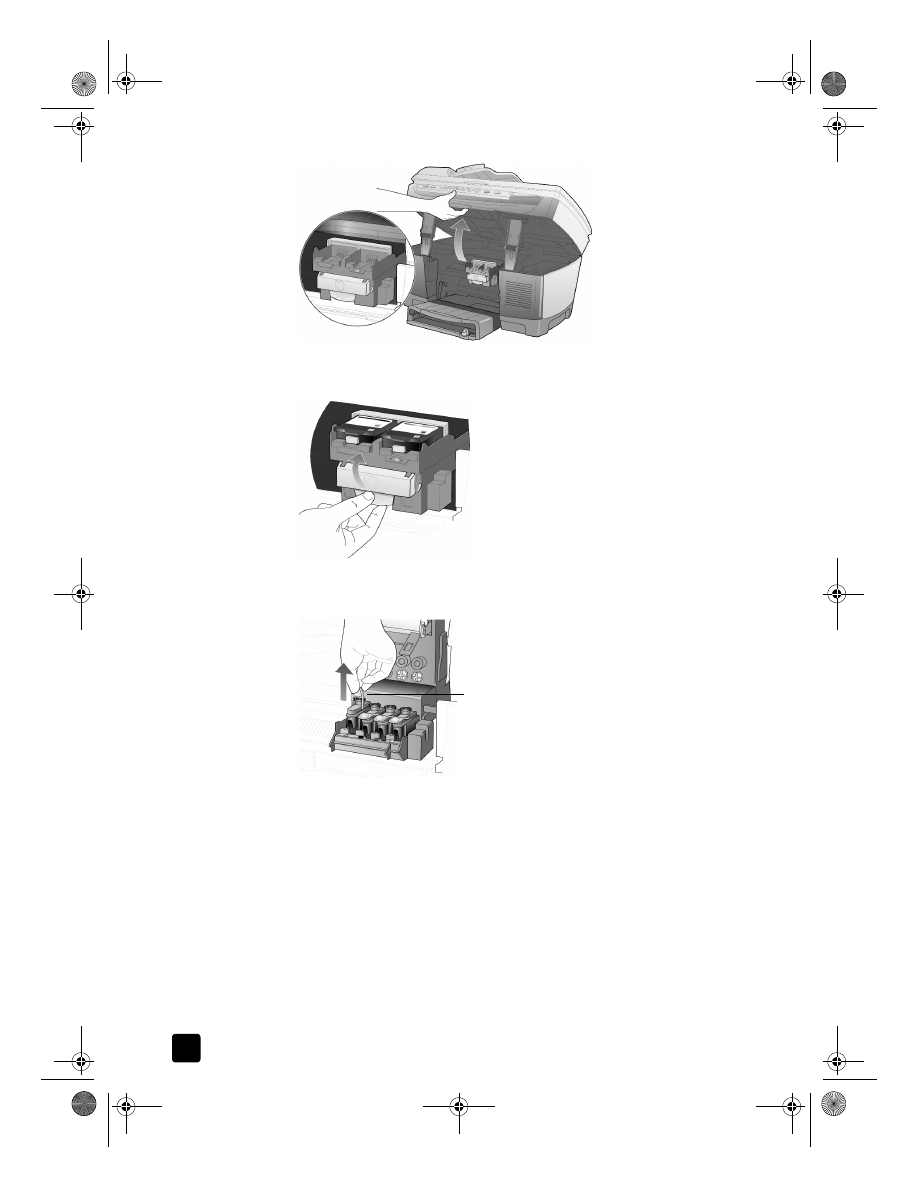
2
Open the print-carriage access door by lifting the handle until the door
locks into place.
The print carriage moves to the center of the unit.
Plastic tape
Printhead tower
Copper contacts
Printhead handle
Ink nozzles
Do not touch the copper contacts, the ink nozzles, or the printhead tower.
GroPlusRG.book Page 59 Wednesday, October 16, 2002 1:16 PM
hp officejet 7100 series
chapter 8
60
3
After the print carriage stops moving, release the gray print carriage latch
and then lift the print carriage to access the printheads.
4
Remove the old printhead by lifting the printhead handle and pulling
upward.
5
If there is plastic tape on the failed printhead, remove the plastic tape.
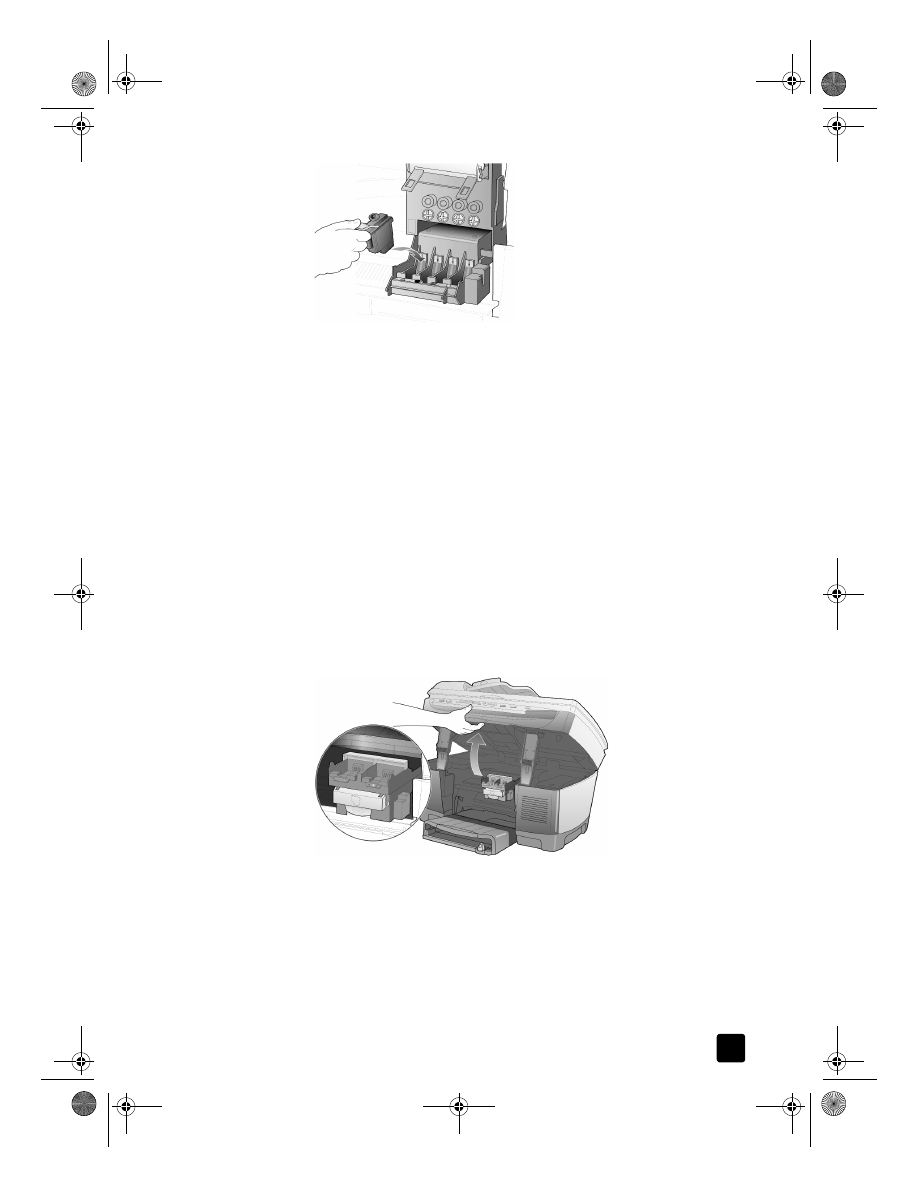
6
Push the failed printhead firmly down into the appropriate slot using the
printhead handle. Do not touch the printhead tower, and do not remove
the printhead handle.
Pull the printhead handle upward
GroPlusRG.book Page 60 Wednesday, October 16, 2002 1:16 PM
reference guide
maintain your hp officejet
61
7
Move the print carriage latch down, and make sure the loops catch the
hooks. Snap the latch into place, then close the print carriage access
door.
8
If the error message still appears, remove and reinsert the printhead again
and close the print carriage access drawer.
9
If the error message still appears, replace the printhead as described in
the following section.