align the printheads
The HP Officejet prompts you to align the printheads every time you install or
replace a printhead or ink cartridge. Aligning the printheads ensures high-
quality output.
Printhead alignment is a two-step process that requires two sheets of plain white
paper. An alignment pattern will be printed on each page. The first page is
automatically calibrated for you as it prints. You then calibrate the second page
manually by using the scanner glass (not the ADF.)
Note: If your HP Officejet has both upper and lower input trays, the white
paper must be loaded in the upper tray.
to align the printheads from the front panel
1
Press Menu, 7, and 3.
2
The HP Officejet will print two alignment pattern sheets. This process may
take several minutes.
You can recycle or discard the first alignment sheet.
Color bars
GroPlusRG.book Page 65 Wednesday, October 16, 2002 1:16 PM

hp officejet 7100 series
chapter 8
66
3
Load the top of the second alignment sheet, which is named Instructions to
Perform 4800 Optimized DPI Alignment, face down on the scanner glass
in the front, right corner.
4
Press Enter on the front panel when prompted.
5
The process may take a several minutes. When 4800 optimized align
complete displays, the alignment process is complete.
to troubleshoot the alignment process
If an error occurs after the first alignment page is printed, you may receive an
error message on the display of the front panel or a blank page will print. Verify
the following items:
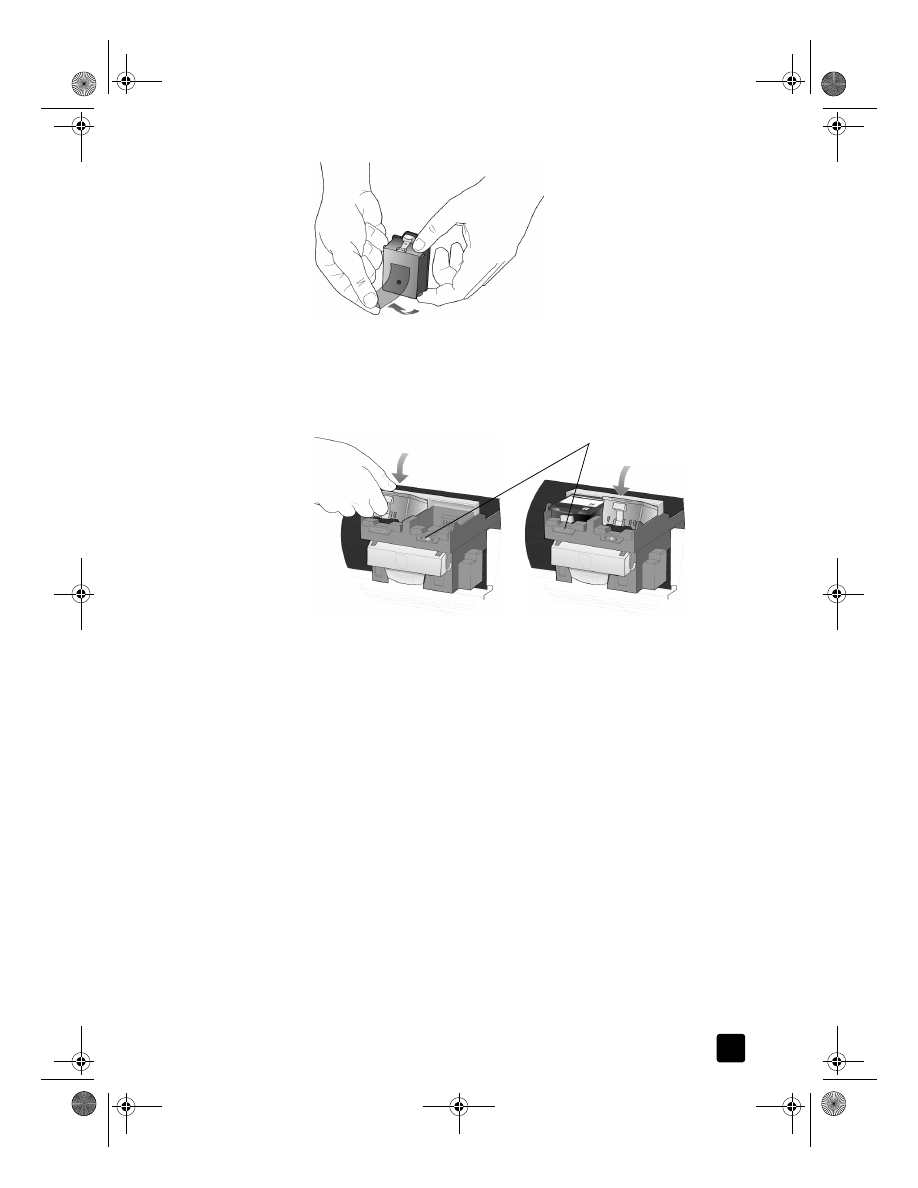
– Make sure that you have removed the nozzle tape from all printheads.
– Make sure that you are using clean sheets of A4 or letter sized plain
white paper. Do not use special, photo, odd-sized, color, or previously
marked paper.
– If you have two input trays, make sure that you have the plain white
paper loaded in the upper tray.
– Make sure that the paper in the input tray is not skewing during the
printing of the alignment pattern. If necessary, reload the paper in the
input tray.
If an error occurs after you scan the second alignment page, verify the following
items:
– Be sure that you are using the Instructions to Perform 4800 Optimized
DPI Alignment page when performing the scanning process.
– Make sure that you have positioned the second alignment page
properly on the scanner glass. The alignment page should be placed
on the front, right corner of the glass. The scan will fail if the page is
positioned improperly or placed print side up.
– Make sure that the paper in the input tray is not skewing during the
printing of the alignment pattern. If necessary, reload the paper in the
input tray.
After correcting the problem, restart the alignment process.